When it comes to Facebook ads, your best friend and worst enemy is the ad manager. Sometimes it helps us do our job, sometimes it rather leads us to destroy our campaigns for more money. This is perhaps the most famous (and infamous) thing they have in common with Google Ads.
Of course, with the right targeting, Facebook ads can produce beautiful results. To do this, however, it is essential to have a deeper understanding of the features of the ad manager. In this article, we'll take a look at the settings without which it's not worth clicking that tempting 'approve' button.
1. Setting a campaign-level budget
In 2019, Facebook introduced an option that allows advertisers to set the amount they spend on advertising not only at the ad group level, but also at the campaign level. It's a good place to start, as this is where you need to know how to allocate your campaign budget. If we set a campaign-level budget allocation, Facebook will manage our money so that the best performing ad group gets the most money to spend. However, if it is important to us that each target group or targeting tactic gets a specific, set budget, then we should choose the ad group level budget setting.

2. Setting a campaign target
At the campaign level, you can choose what kind of campaign you want to run. You can choose a simple post promo, a complex conversion campaign or a campaign optimised for app downloads. The ad manager distinguishes between three main types:
- Awareness (types of campaigns that can be used to build brand awareness and promote your product)
- Consideration (campaigns optimised for consideration)
- Conversion (campaign types optimised for a conversion event)
3. Budget setting at the ad group level
You can specify daily and lifetime budgets per ad group. The daily budget is very similar to the one used for Google Ads campaigns. This is recommended if you do not want to set an end date for your campaign but prefer to run it continuously. This option could be ideal for a continuous remarketing campaign. However, if you have a fixed budget and you have an end date for your campaign, you can choose the lifetime budget option. A good example of such a case would be a Black Friday campaign.
5. Target Audience Settings
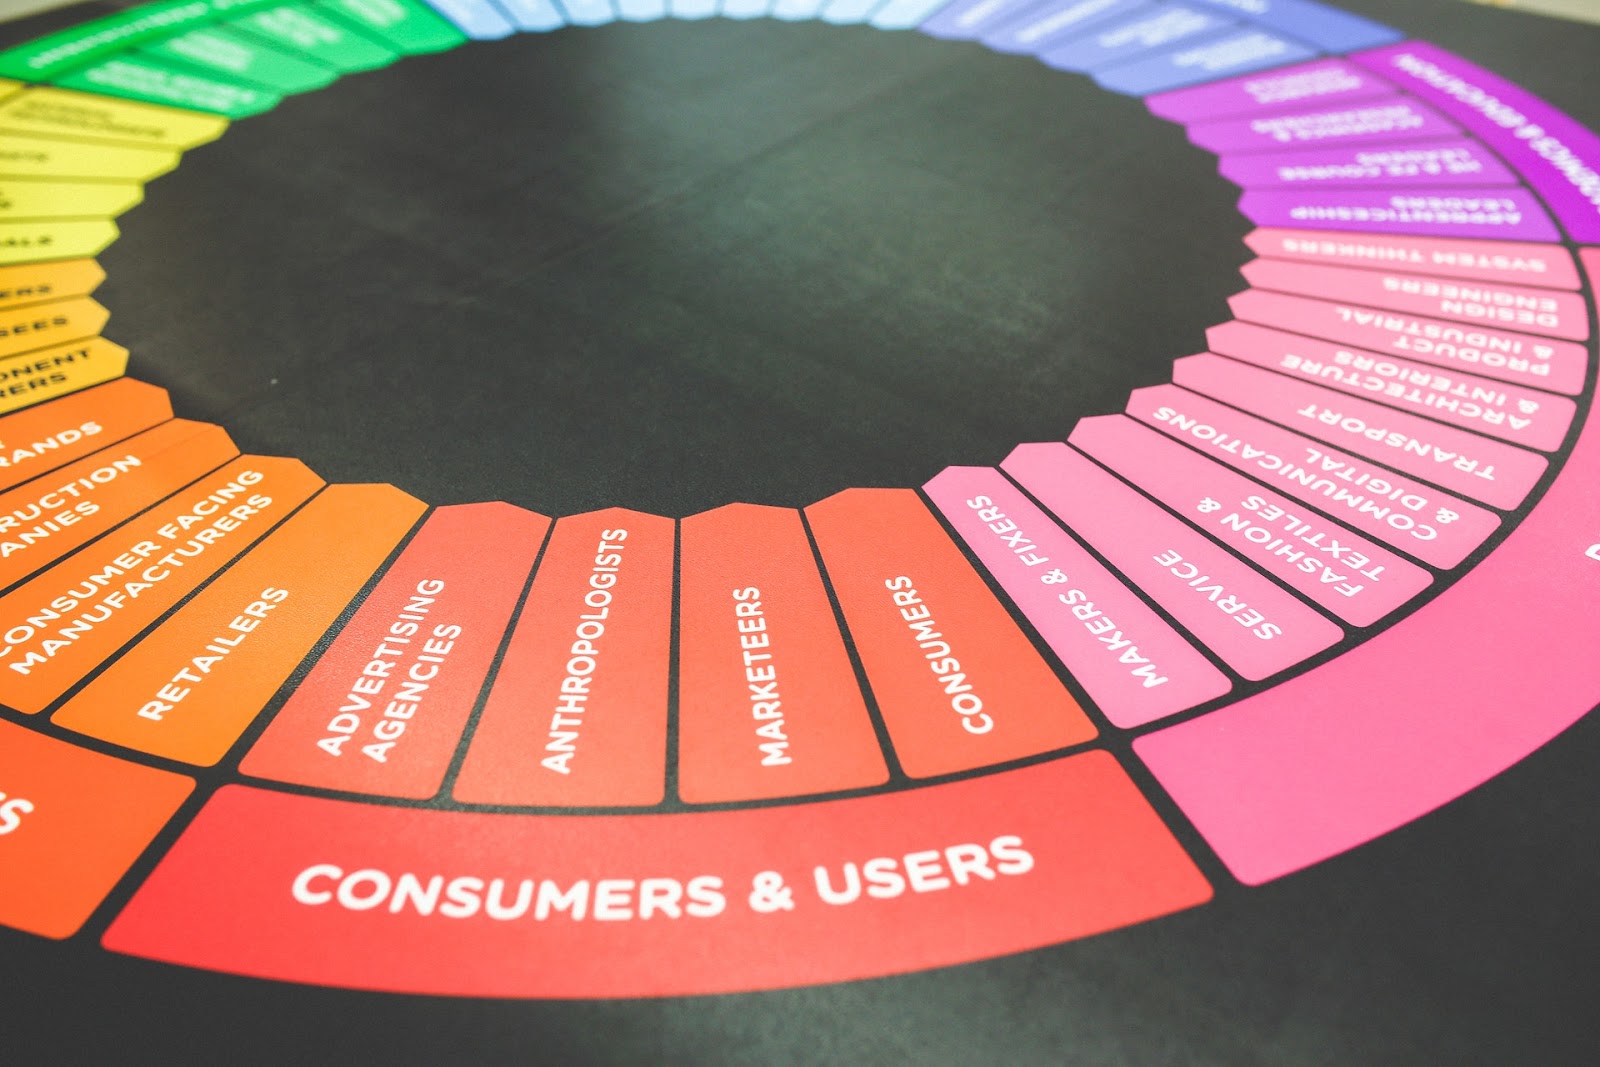
You can create your target audiences in the Audience Manager or during campaign launch in the ad group settings. If you want to create your own / remarketing audiences, you must use the Audience Manager. In this section, you can also specify regional settings (country, county, city, street and radio), age group, gender, interests, demographics, jobs and languages. We can also add connections if we want to target people who are already connected to our site or app in some way. You can set up multiple audiences to be targeted with both "AND" and "OR" connections, and even exclude certain audiences, such as "already registered" users.
Note that creating the right audience is an art in itself - and not always as straight-forward as you would think. Feel free to experiment with different personas, or, if you feel like you have tried everything under the sun, but your reach is still low, ask a digital marketing agency to help discover the right audience for your campaigns.

5. Placement options
The next option is to choose the display interfaces for our ads. You can choose to have Facebook automatically place the banners in the "most relevant" places. We don't recommend this at all, as it might generate a lot of impressions - but very few results. If the sole purpose is to get your ad in as many places as possible, you can choose this, but it is not a good strategy for any other goal.
The other option is to use manual placement. Here, we can choose which platforms we want our ads to appear on. We have the option to place our ads on Facebook, Instagram, Messenger and the Audience network.
For interest-based campaigns, we definitely recommend the Facebook feed placement - simply because this is where interactions are most likely to happen. For remarketing campaigns, you can choose the Facebook feed, Instagram feed and Messenger feed. However, in our experience, the more options you choose, the more likely your campaigns are to take your money, rather than generate it. If you are only aiming for boosting your reach, you can be a little more flexible with this.
6. Optimisation options
Depending on the campaign, you can set (even during a running campaign) what you want to focus on. For a website traffic campaign, you can choose to focus on clicks, landing page views, impressions, or daily unique hits. This is important because if we feel, for example, that we have reached the right click-through number, but our reach is not yet high enough, we can change it on the fly. However, it's important to keep in mind that such changes will reset Facebook's algorithm, so it may take a few days before our ads can generate optimal results again.

7. Setting up your ads correctly
At the ad level, you first need to name your banner, then choose which page you want to run your ad on. After that, you can decide whether you want to promote an existing post or create a new ad. When choosing a new ad, we usually have 5 options:
- Plain picture or video ad (1:1 ; 16:9)
- Carousel ad with up to 10 images (1:1)
- Collection
- Canvas advertisement
- Slideshow
Once we have chosen our ad type, all we have to do is write a striking, attention-grabbing and solution-oriented piece of copy. We select the call to action button and finally, after checking, it’s time to approve the ad!

Summary
We hope this article will help make the settings in Facebook Ads a little more transparent. It might seem daunting at first, but with a little practice and a few campaigns up and running, you can feel more confident using Facebook to grow your business. Remember: it's important to always check your campaigns before you approve them.
However, if you still prefer to leave your campaigns to professionals, feel free to request our Facebook Ads audit.
#promobox#Do you need help setting up your Facebook campaigns? Our team of experts is here to help!##


